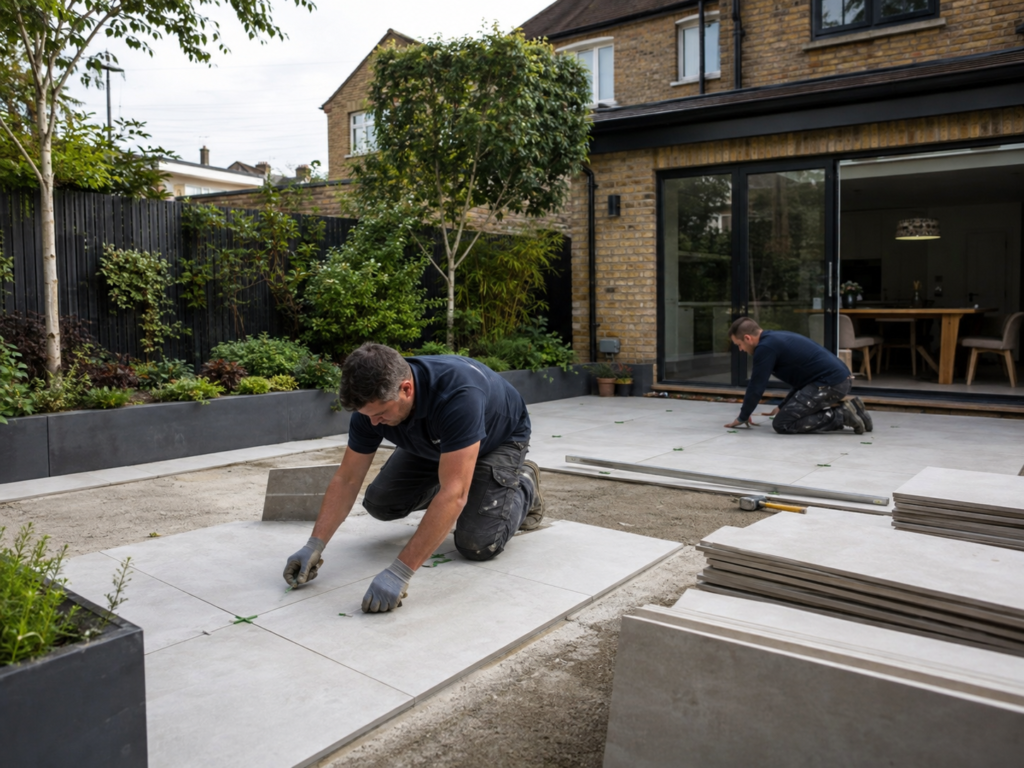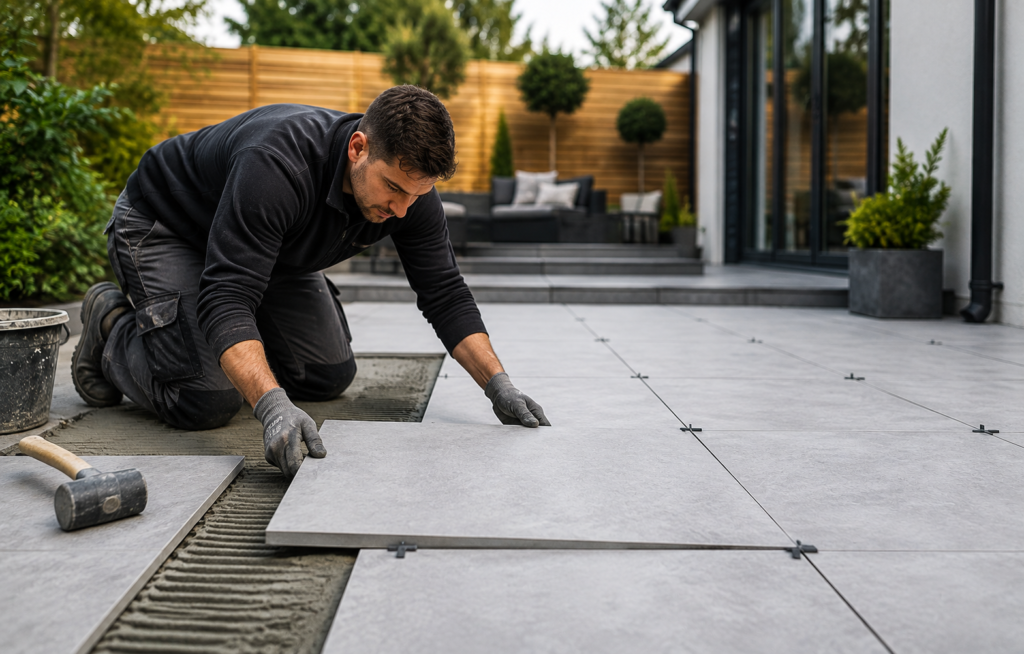
Porcelain paving has become a popular choice for Irish patios because it gives a clean, modern finish and is easier to maintain than many traditional paving materials. It works well for garden patios, outdoor dining areas, paths, and seating spaces.
But while porcelain paving looks simple once it is finished, the installation needs care. Porcelain pavers are strong and low maintenance, but they must be laid correctly. If the base is weak, the slabs are not bonded properly, or the patio has poor drainage, problems can appear later.
This guide explains how to install porcelain pavers, what DIY homeowners should know, and when it is better to call a professional.
Why Proper Installation Matters
Porcelain paving is different from natural stone. It is dense and has very low water absorption. This is good for durability, but it also means porcelain does not bond easily to mortar unless the correct primer is used.
That is why a proper installation usually includes a solid base, a full mortar bed, and slurry primer on the back of each slab. Skipping these steps can lead to loose slabs, rocking pavers, cracked joints, or water problems.
For Irish gardens, this matters even more. Rain, damp soil, and frost can quickly expose poor groundwork. A patio that is installed properly will look better, drain better, and last longer.
Can You Install Porcelain Pavers Yourself?
Yes, porcelain pavers can be installed as a DIY project, but it depends on the size and complexity of the job.
A small, simple patio may be possible for a confident DIY homeowner with the right tools and time. However, porcelain is not the easiest material to work with. The slabs can be heavy, cutting requires the correct equipment, and the surface needs to be laid very accurately.
DIY may be suitable if:
– You are working on a small patio area
– The ground is already stable
– The layout is simple and square
– You have experience with paving or landscaping
– You are comfortable using cutting tools
– You understand levels and drainage
A professional installer is usually better if:
– The patio is large
– The garden has poor drainage
– There are steps or level changes
– The area needs excavation
– The paving meets house doors or walls
– The design includes patterns or cuts
– You want a high-end finish
For many porcelain patios in Ireland, the best result comes from professional installation, especially where the patio needs to last for many years.
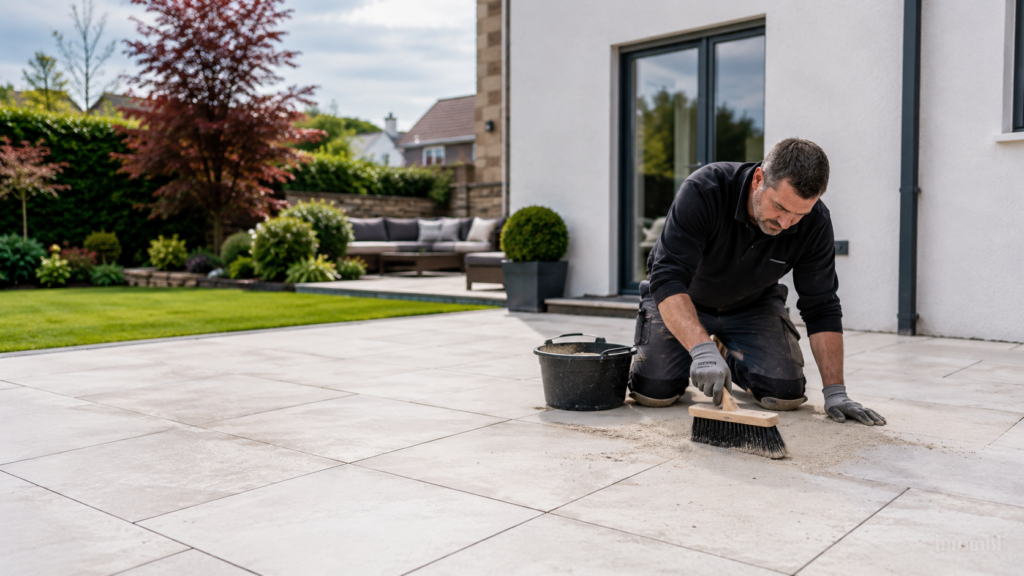
Tools and Materials You May Need
Before starting, make sure you have the right tools and materials. Trying to install porcelain paving without the proper equipment often leads to poor results.
You may need:
– Porcelain pavers
– MOT Type 1 or suitable hardcore sub-base
– Sharp sand and cement for mortar
– Slurry primer suitable for porcelain
– Jointing compound or grout suitable for porcelain patios
– Spirit level or laser level
– String lines and pegs
– Tape measure
– Rubber mallet
– Trowel
– Bucket and mixing tools
– Plate compactor
– Tile cutter or wet saw with a porcelain blade
– PPE such as gloves, goggles, and dust protection
Do not use ordinary indoor tile adhesive for a standard outdoor patio installation unless the system is specifically designed for external paving. Outdoor porcelain patios need the correct bedding and bonding method.
Step 1: Plan the Patio Layout
Start by measuring the area and planning the layout. Think about how the patio will connect to the house, garden paths, lawn, steps, or seating areas.
It is better to plan cuts before laying begins. Try to avoid tiny cuts along edges where possible. A balanced layout usually looks better and is stronger.
Also think about drainage. In Ireland, a patio should never be completely flat. It needs a slight fall so rainwater can move away from the house and towards a suitable drainage point, lawn, gravel area, or drain.
Good planning at this stage prevents a lot of issues later.
Step 2: Prepare the Ground
The ground needs to be strong and stable. Remove grass, old slabs, soft soil, weeds, and loose material. If the ground is weak, the finished patio may move or sink.
For many patios, the area is excavated deep enough to allow for the sub-base, mortar bed, and porcelain slab thickness. The exact depth depends on the site and slab thickness, but the key point is that the patio needs a compacted foundation.
Once excavated, install a suitable sub-base and compact it properly. This is one of the most important parts of the job. A weak sub-base can cause movement, uneven slabs, and cracked joints.
Step 3: Set the Correct Fall
Before laying the slabs, make sure the patio has the right fall. The surface should slope gently away from the house or any building.
The fall should not be so steep that the patio feels uneven, but it should be enough to stop water from sitting on the surface. This is especially important for Irish weather, where regular rainfall can quickly show drainage mistakes.
Use string lines, levels, or a laser level to keep the fall consistent.
Step 4: Mix and Lay a Full Mortar Bed
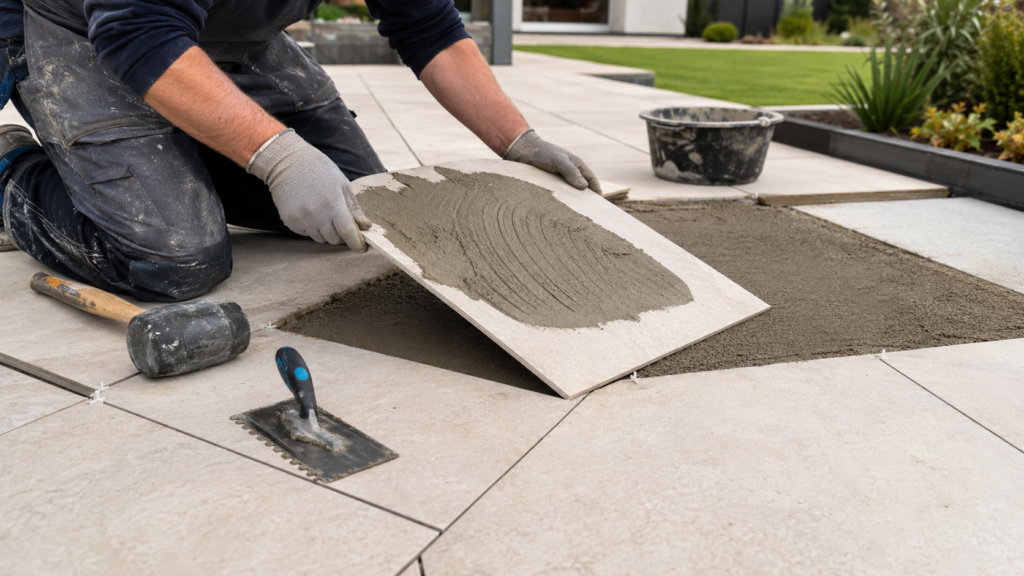
Porcelain pavers should usually be laid on a full bed of mortar, not on dots or small patches. A full bed supports the slab evenly and helps prevent movement.
The mortar bed is normally made from sharp sand and cement. It should be workable, but not too wet. The slab needs to sit firmly on the bed with full support underneath.
Do not leave empty spaces under the pavers. These can cause rocking, cracking, or hollow sounds later.
Step 5: Apply Slurry Primer
This is a very important step for porcelain paving.
Because porcelain is dense, it does not bond to mortar as easily as some other materials. A slurry primer is applied to the back of each slab before it is placed onto the mortar bed. This helps create a strong bond between the porcelain paver and the bedding layer.
Apply the primer to the underside only, not the visible top surface. Lay the slab while the primer is still wet and active.
Skipping primer is one of the most common mistakes with porcelain patios.
Step 6: Lay the Porcelain Pavers Carefully
Place each slab onto the prepared mortar bed and tap it gently into position with a rubber mallet. Use spacers or consistent gaps to keep the joints even.
Check levels as you go. Do not wait until the end to fix mistakes. Porcelain paving gives a clean, sharp finish, so uneven joints or poorly aligned slabs can stand out.
Clean any mortar or primer from the surface quickly before it dries. Porcelain is easier to clean than many materials, but dried mortar can still be difficult to remove.
Step 7: Cut Pavers Where Needed
Most patios need some cuts around edges, walls, drains, steps, or garden features. Porcelain is hard, so you need the correct cutting equipment.
A wet saw or suitable tile cutter with a porcelain blade gives the cleanest result. Always wear protection when cutting. Dust and flying fragments can be dangerous.
Measure carefully before cutting. It is better to take time here than waste expensive slabs.
Step 8: Allow the Patio to Set
Once the porcelain pavers are laid, allow the mortar bed to set before walking on the patio or applying jointing compound. The waiting time depends on the weather, mortar mix, and products used.
Avoid laying porcelain paving during heavy rain, frost, or very poor weather. In Ireland, it is important to plan around the forecast where possible.
Step 9: Joint the Patio
After the slabs have set, fill the joints with a suitable outdoor porcelain jointing compound or grout. This helps lock the patio together and gives the surface a neat finished look.
Make sure the joints are clean before filling. Follow the product instructions carefully, especially around water use, cleaning, and curing times.
Good jointing improves both the appearance and performance of porcelain patios.
Common DIY Mistakes to Avoid
The most common mistakes with porcelain paving are usually avoidable.
One major mistake is laying pavers on a weak or uneven base. Another is using spot bedding instead of a full mortar bed. Many DIY issues also happen because slurry primer is skipped, the fall is wrong, or the joints are filled too early.
Another common problem is poor cutting. Porcelain needs the right blade and steady handling. Rushed cuts can chip the edges and spoil the finish.
The best advice is simple: take your time, prepare properly, and do not cut corners on the base, bonding, or drainage.
Another common problem is poor cutting. Porcelain needs the right blade and steady handling. Rushed cuts can chip the edges and spoil the finish.
The best advice is simple: take your time, prepare properly, and do not cut corners on the base, bonding, or drainage.
Professional Tips for a Better Finish
A professional installer will usually spend a lot of time on preparation before the slabs are laid. This is where much of the quality comes from.
For a better finish:
– Check levels throughout the job
– Use a full mortar bed under every slab
– Prime each porcelain paver properly
– Keep joint widths consistent
– Plan cuts before laying
– Clean as you go
– Protect the finished surface while it cures
– Make sure water drains away from buildings
If the patio includes steps, raised areas, drainage channels, or large-format porcelain pavers, professional help is usually worth it.
Is Porcelain Paving Suitable for Ireland?
Yes, porcelain paving Ireland projects are now very common because the material suits Irish gardens well. Outdoor porcelain is strong, low maintenance, and resistant to moisture when installed correctly.
It is a good choice for patios that need to handle rain, regular use, garden furniture, outdoor dining, and family life.
The key is proper installation. A good porcelain patio is not just about the slab. It is about the base, fall, bedding, bonding, cutting, and jointing.
Final Thoughts
Porcelain paving can create a beautiful and long-lasting patio, but it needs the right installation method. For small and simple areas, confident DIY homeowners may be able to install porcelain pavers themselves. For larger patios, complex layouts, or gardens with drainage issues, a professional installer is usually the better choice.
If you want porcelain patios that look clean, drain properly, and stay stable over time, focus on the basics: a strong sub-base, correct fall, full mortar bed, slurry primer, careful laying, and proper jointing.
Done properly, porcelain paving can give Irish homeowners a stylish, practical, and low-maintenance outdoor space that can be enjoyed for many years.
Frequently Asked Questions?
Can I install porcelain pavers myself?
Yes, you can install porcelain pavers as a DIY project if the area is small, the layout is simple, and you have experience with paving or landscaping. However, for larger or more complex patios, professional installation is usually recommended.
Why is slurry primer necessary for porcelain paving?
Porcelain is dense and does not bond easily to mortar. Slurry primer helps create a strong bond between the slab and the mortar bed, preventing loose or unstable pavers.
What is the best base for porcelain pavers?
A compacted sub-base made from MOT Type 1 or similar hardcore is ideal. This provides a stable foundation and helps prevent movement or sinking over time.
Can porcelain pavers be laid on sand?
No, porcelain pavers should not be laid directly on sand. They require a full mortar bed for proper support and stability.
How thick should the mortar bed be?
The mortar bed should be thick enough to fully support the slab, typically around 30–50mm, depending on the project and ground conditions.